Knowing common sanding mistakes in advance can make your sanding project a perfect piece. Besides, it will save time and reduce the sanding hassle and cost. So, let’s know about the 9 common sanding mistakes & how to fix them most easily.
Floor sanding is a sensitive task requiring enough technical expertise to reach a goal. We are going to discuss DIYer’s common mistakes. If you plan to sand your floor yourself, this guide is for you.
So, let me guide you through this discussion.
Common Sanding mistake & How to Fixed
Mistakes are a common issue for beginners. But no worries because every mistake brings a new thing to learn. Let’s know the sanding mistakes and learn the way to solve them.
Using The Wrong Sander

One of the biggest sanding mistakes is using the wrong sander. Note that there are four primary floor sanders, including random orbital sander, belt sander, finishing sander and disc sander. Each sander has specific characteristics for individual uses. You can get a good or uneven finishing if you choose the right one.
How to fix:
- Know the sander type and its features before sanding
- Use specific sander for individual sanding process
- Use orbital for fine finish; belt sander is for rough surface
- Rely on the finishing sander for square or rectangular base sanding
- Use a disc sander for versatile surfaces like wood and metal
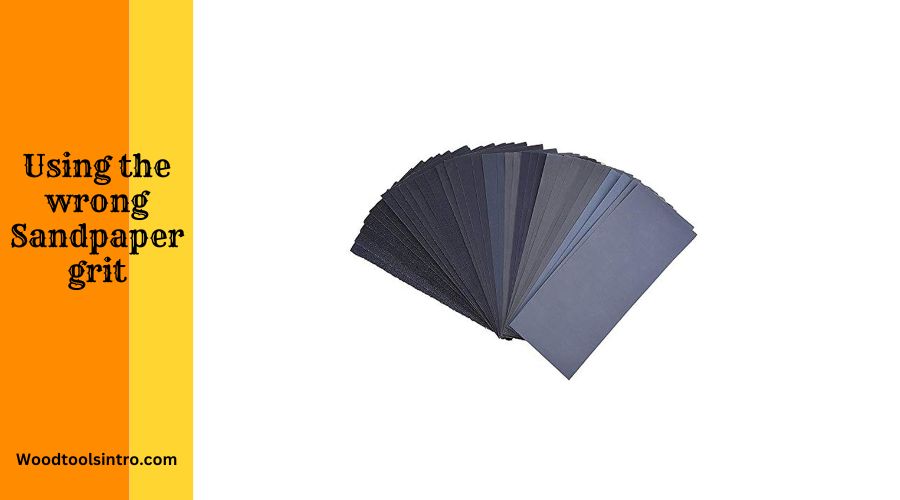
Using the wrong Sandpaper grit

A large number of DIYers need help to do this right. Remember, sandpaper grit should be chosen as per the floorboard condition. There are two primary sandpapers: fine and coarser.
How to Fix:
- Use fine-grit paper if you want to sand on a previously sanded floor and give a fine finish.
- Use coarser sandpaper grit for sanding on the new surface.
- Never use the combined use of coarser and fine sandpaper girt
Staying One spot too long
Another common mistake is sanding one spot too long. Whether using a machine sander or a hand-operated sander, you should move it continuously. Otherwise, the sanding floor would be uneven and visible after finishing the project.
How to Fix:
- Operate the sanding machine continuously in all parts of the work pieces
- Give some extra sanding for deep scratch or dent on the floor
Pressing down too hard
There are better ways to press down too hard on the sander for sanding. Remember that the machine has a decent weight. So, the user has to operate the machine correctly.
How to Fix:
- Excessive pressure on the sanding floor destroys the sending process. So, avoid hard pressing.
- If pressed hard on the floor surface, use coarser grit to make the floor even.
Need to change the sandpaper more often.
The DIYers often need to remember to change the sandpaper on time. But it is recommended to replace the sandpaper after a specific time. Otherwise, the sanding floor may lose its appearance. Besides, it can longer the sanding process.
How to Fix:
- Instantly change it whenever you realize that the sending power of sandpaper is missing
- If the sandpaper rubs over it with your fingers and it is smooth, change it immediately.
Hand sanding without a sanding block

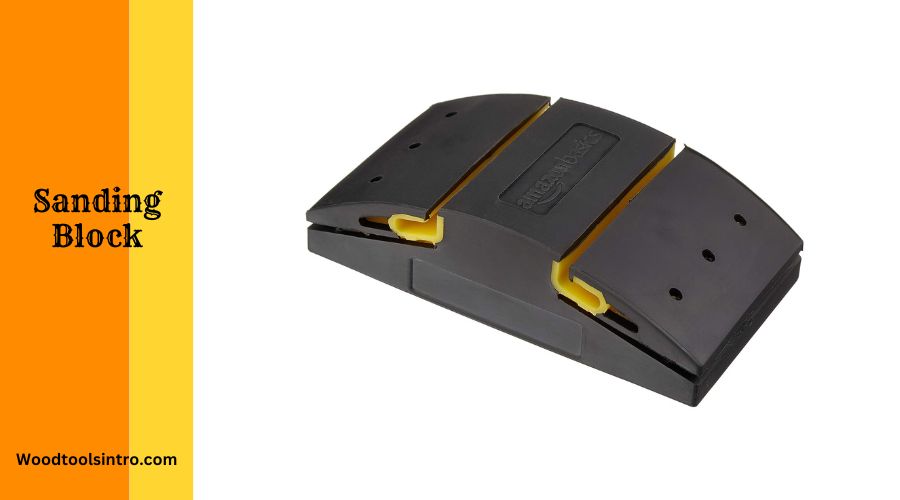
Many woodworkers like to use sandpaper directly. But using a backing block is very important. Otherwise, they may have an uneven sanding surface. With a backing block, sanding may go right with the finger’s pressure.
How to Fix:
- Always choose your preferred backing block before sanding
- Never rely on direct sandpaper for floor sanding
- If using direct sandpaper, repolish the surface with new sandpaper.
Not Vacuuming Properly and Leaving Dust Behind
Many people make this mistake, which seems easy to fix but needs to be clarified. The dust can easily be embedded in the poly coating of the floor. However, there is a way to solve this mistake.
How to Fix:
- The floor must be vacuumed thoroughly before the final coat
- Apply an additional poly coat to recoating the floor from damage
- Remember that recoating is only possible for the top coat, not for the below coat
Not Properly Removing the Old Finish
Although removing the old finish is the first step in sanding, some DIYers can’t do it correctly. Sanding with an old finish never gives you a smoother surface. When you try sanding over the old finish, it will take a lot of time, but the result will not be ideal. So, how to fix this issue?
How to Fix:
- Use planetary sanders that are available in hardware stores. Planetary sanders are effective in removing old finishes correctly.
- Call a professional when you can’t fix the mistake by yourself.
Rounding the edges of the board
Using the rounding edge sander is only ideal for some types of surfaces. As mentioned earlier, the sander must be selected according to the type of surface, which many people still need. You can use a rounding edge only when you want a round edge.
How to Fix:
- Don’t sand the board edge to avoid rounding the edge
- Use a scrap board with a similar thickness to the working pieces
- Use a sanding block near the edge of the workpiece
Last Words
We hope you already know about the 9 Common Sanding Mistakes & How to Fixed them. As discussed above, many DIYers make these mistakes, so carefulness is important. Follow the fixing process when you are going to make mistakes. We believe that you won’t face any difficulties when sanding in future.

I am Imtiaj Islam. I am a wood working enthusiast, having 6 years of experience in carpentry work. I have a BBA graduate degree from Chittagong College. I got vocational training on wood works from Korean Polytechnic out of the quest and zest he has for carpentry as well. I take several wood projects and keep testing different woodworking tools for comfortable and perfect work. I just love playing with woods and machines.
