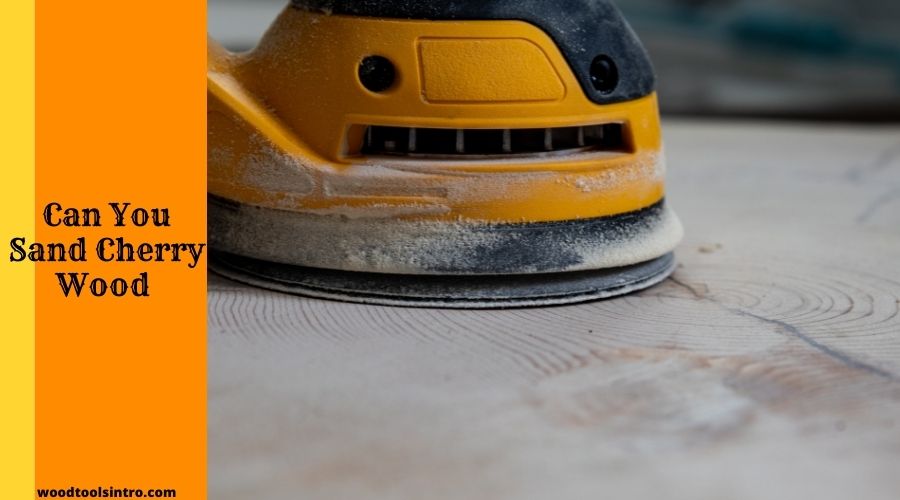
When it comes to sanding cherry wood, it is not as easy as other woods. Their increased natural luster makes the sanding task complicated since they are prone to attract everything.
However, it can be easy going when you know how to sand cherry wood correctly.
Let’s learn the perfect way to sand cherry wood.
What Is Cherry Wood?
Cherry wood has straight-grained qualities. It is a deciduous hardwood that gradually forms a rich brown-red appearance due to oxidization. According to the Janke scale, its hardness level is around 995.
From light pink to rich reddish-brown, cherry wood is available in various color options. It has moderate to a higher natural luster. So, a decent level of particulate matter is embedded on its surface.
Can You Sand Cherry Wood?
Yes, you can sand cherry wood. But the equation is not as simple as it appears. After all, this special type of wood is equipped with a very tight closed grain.

It is not a typical wood like your Walnut or Mahogany. The most crucial factor is choosing the right grit sandpaper & right power sander. For regular wood, you can use medium-grit sandpaper, like 180-220.
But cherry wood has a sensitive surface. Its absorption rates may vary in different wood parts because its grain swirls a bit more than in regular woods.
That’s why it may absorb more finish than other woods. When sanding cherry wood, you should not use any sandpaper more than 180-grit. Using 150-grit sandpaper is even a better option.
Additionally, aim at sanding the wood surface not more than an inch of its life. More importantly, sealing off the wood is crucial to avoid blotching issues.
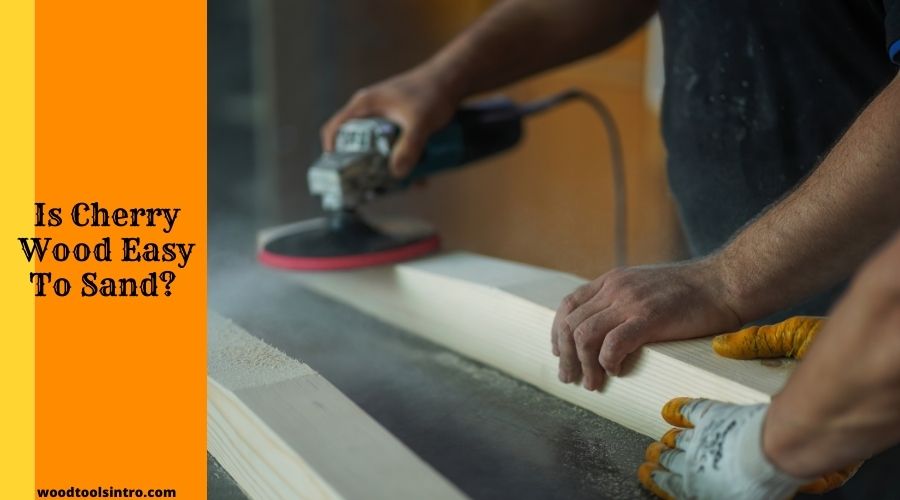
Is Cherry Wood Easy To Sand?

Cherry wood has a highly thick finish, around 3 to 4mm thickness. It is similar to plastic coatings. In addition, its surface has tiny, dark pits of sap.
The wood is equipped with a high natural luster. Hence, it easily attracts different types of things from the surrounding environment.
Apart from implementing the proper sanding techniques, you need to be cautious in every step. Otherwise, the stain and finish won’t be as uniform as you want them to be.
What Can You Make With Cherry Wood?
You can use cherry wood for various purposes such as furniture, doors, musical instruments, moldings, turnings, etc. But it solely depends on the cherry wood type.
This wood comes in 6 types.
For example, black cherry wood is ideal for cabinets, furniture, and flooring, whereas sweet cherry wood is excellent for veneer, carvings, musical instruments, etc.
If you want to use solid and dried wood for interior flooring, Brazilian Cherry wood appears to be the best option. Patagonian Cherry is another alternative option for flooring.
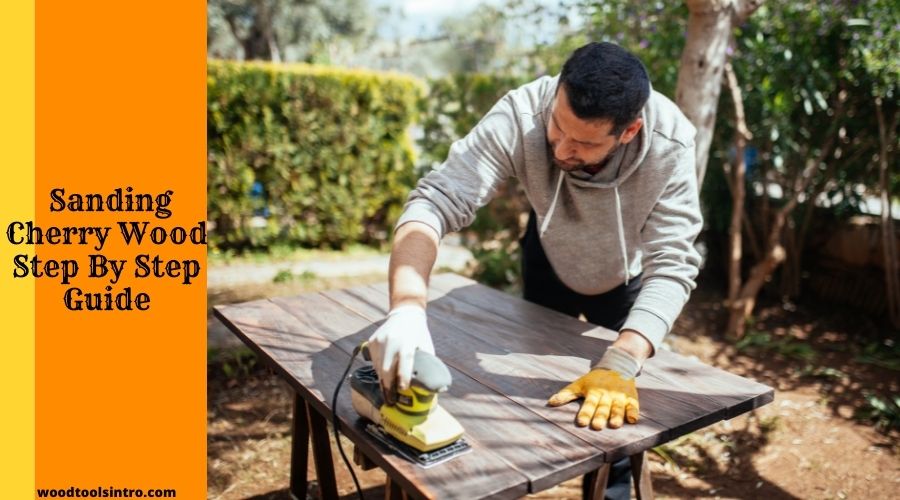
How to Sand Cherry Wood (Step By Step Guide)

Before sanding the cherry wood, you first need to decide what appearance you want to achieve. Your primary aim should be to remove rough scratches from the surface
Cleaning the Wood Surface
At first, remove all the dust and dirt from the wood surface. Take a fresh fabric to wipe the surface appropriately in all areas.
Using a Random Orbital Sander
Since cherry wood is prone to scratches from sanding, sanding the wood surface with grain is crucial. It might be time-consuming and a little bit more hassle.
However, you will get less touch-ups and a durable finish. You can use a random orbital sander with 80-grit sandpaper.
Removing the Upper-Level Scratches
Then, start sanding the cherry wood using 120-grit sandpaper by hand. This will make the wood surface smoother to remove the upper-level scratches.
Cross Checking the Sanding Condition
After ending up the second sanding session, wipe the dust off. Bring the wood to the light to see visible scratches.
Don’t over-sand in a particular zone. Otherwise, you may end up getting a splotchy, uneven finish. Inspect the sanding results during the sanding session to avoid overdoing it.
Removing Tiny Scratches
The next task is removing tiny scratches under the finishes. You can use 180-grit sandpaper followed by 220-grit if needed to get off any rough scratches.
Cleaning the Wood Surface
Finally, wipe the wood surface with a fresh towel to get off the wood residue. Apply an all-natural oil finish to get your desired stain.
Tips For Sanding With Cherry Wood Efficiently
Knowing the proper technique of sanding is crucial to getting a flawless finish. You may end up getting a lot of scratches for following incorrect practices.
Here are some pro-approved tips to follow if you want to sand cherry wood efficiently.
Sand towards the Directional Lines
Instead of sanding across the shorter parts, aim at sanding towards the directions of the lines. Don’t work all the areas at a time. Divide the zone and move to the next after completing the current.
Use A Putty Knife To Work On Corners
Sanding on corners is a little bit more complicated than on flat surfaces. You can stick the sandpaper on a putty knife to precisely sand these nooks and corners. It will keep the borders in good condition.
Use A Light For Better Monitoring
Sometimes, daylight or far away light is not enough. You may not see precise details of the wood surface due to a lack of light while you are sanding.
A clamp light or utility light comes in handy to help you figure out any imperfections or scratches easily.
Cut the Sandpaper into Pieces
Wondering how to finish off a sanding session quickly? Cutting the sandpaper in quarters and using them separately by folding them will save you time.
Vacuum Between Grits
It is a good rule of thumb to use a portable vacuum machine to get rid of a little bit of the sanding residues. This will prevent scratching the wood surface unnecessarily.
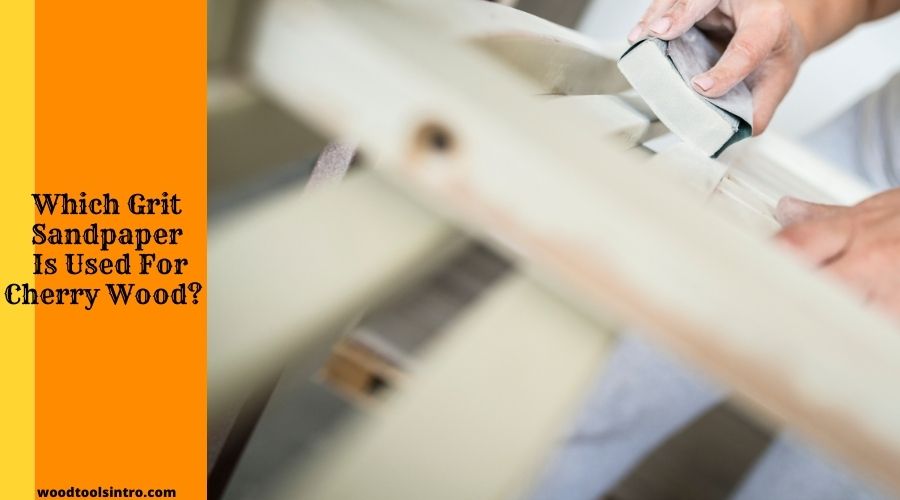
Which Grit Sandpaper Is Used For Cherry Wood?
Since cherry wood has a rough surface, too higher grit sandpaper will merely make an impression. That’s why woodworkers recommend avoiding using more than 220-grit.

If the cherry wood surface is extremely rough, start the sanding session using a random orbital sander with 80-grit sandpaper. Then use 180-grit and followed by 220-grit.
Your main aim should be to achieve a smooth and shiny surface. When using higher grit sandpaper, be a little cautious to prevent adding extra scratches.
Frequently Asked Questions (FAQs)
All-natural oil finish is the best option for cherry wood. Though they take a little more time to dry, they add rich color to the wood surface. You can use boiled linseed or tung oil.
One of the best approaches to making cherry wood less red is using a darker stain to disguise the redness. The more you make the finish darker, the less redness it will be visible.
A reactive stain finish is the best way to make a cherry wood stained grey. Initially, bleaching the wood will help you achieve a precise color match.
Wrapping Up
Just because cherry wood has a very tight closed grain that doesn’t mean you can’t sand them effectively. Knowing the proper sanding technique and using the correct sandpaper is vital.
We have already outlined how to sand cherry wood correctly step-by-step. Make sure you take every step cautiously to achieve the finest result.

I am Imtiaj Islam. I am a wood working enthusiast, having 6 years of experience in carpentry work. I have a BBA graduate degree from Chittagong College. I got vocational training on wood works from Korean Polytechnic out of the quest and zest he has for carpentry as well. I take several wood projects and keep testing different woodworking tools for comfortable and perfect work. I just love playing with woods and machines.
