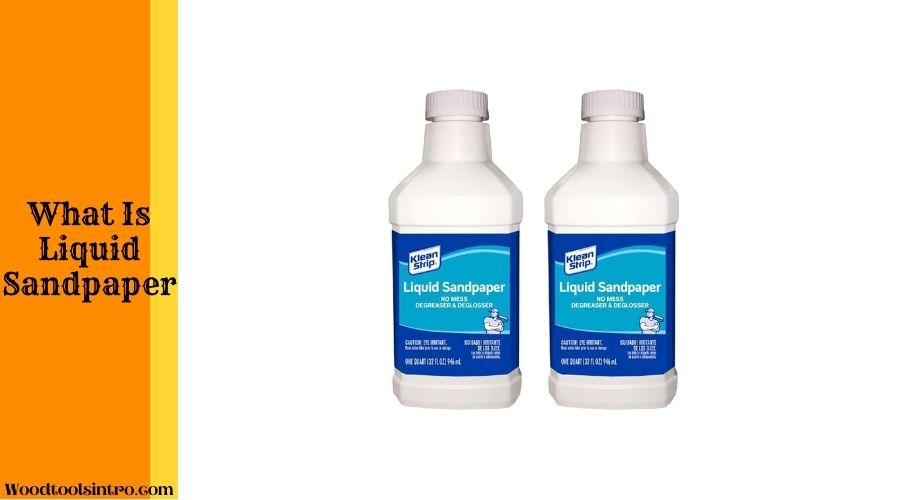
The Homax Group, a US-based company, developed liquid sandpaper in 1986. It is a perfect alternative to traditional sandpaper, widely used in painting and refinishing.
Wood is one of the most common materials for using liquid sandpaper. This deglosser or deglossing solution can quickly prepare the wood surface for painting or staining.
But knowing how to use liquid sandpaper on wood is the key. In this article, you will get a complete overview of this topic. Don’t stop until we finish!
What Is Liquid Sandpaper?

Liquid sandpaper is a chemical solution or substitutes to sand various types of curved surfaces lightly. It is made of thick, white liquid full of chemicals.
People generally use them to get off glossy layers from a painted object. But this deglosser won’t remove the entire paint or stain like traditional sandpaper.
Instead, it scuffs up the thin upper layers of the surface of a glossy painted object.
Liquid Sandpaper is mainly used in hard-to-reach areas to save time. The main objective of using this deglosser is to prepare wood or other surface before repainting.
Does Liquid Sandpaper Work?
Liquid sandpaper can show reliable results for difficult-to-access spots or wood furniture with intricate curves and details.
Compared to traditional sandpaper, deglosser removes gloss from a painted surface within 15-20 minutes faster.
People mainly use this wet sandpaper for ornamental or DIY projects to prepare the surface for adding a new coat of paint.
However, completely drying the surface before adding a new layer is mandatory. You may have to wait around 30-40 minutes to give the surface a frosted or hazy look.
Related Article
How Liquid Sandpaper Works?
Liquid sandpaper dissolves or rubs off the thin upper layer of the paint surface.
Unlike traditional sandpaper, this wet sandpaper is made of many chemical substances, such as ethyl acetate, ethyl alcohol, naphtha, etc.
These chemical items will dissolve and break down the glossy finish. They can also remove dirt, grime, varnish, paint, and other surface coatings.
Tough liquid sandpaper contains tri-sodium phosphate (TSP) chemicals. They are effective for surfaces that are heavily soiled or stained.
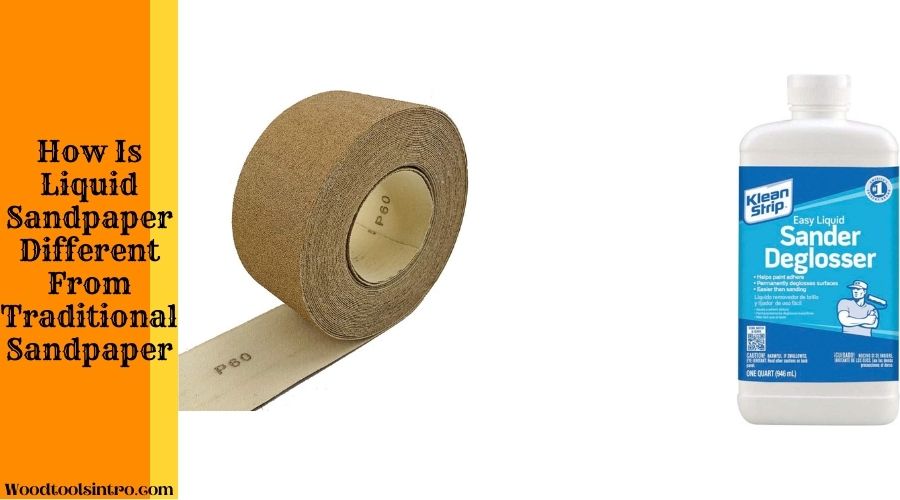
How Is Liquid Sandpaper Different From Traditional Sandpaper?

Traditional and liquid sandpaper is used for preparing the surfaces before painting and allowing the paint to adhere well.
However, wet sandpaper can’t make the surface smooth, unlike traditional sandpaper. They are not perfect for taking off rough objects from a surface.
You can’t fix all imperfections with liquid sandpaper, such as scratches, dents, cracks, etc.
This deglosser is also not a perfect choice to get rid of deep stains or discoloration on surfaces. You want to use traditional sandpaper for this purpose.
Liquid sandpaper is ideal for removing gloss and preparing the surface for painting, refinishing, or bonding.
Advantages Of Liquid Sandpaper
- Liquid sandpaper is easy and safe to use.
- It works faster to prepare the object for painting, staining, etc.
- Wet deglossers are suitable for decorative projects and hard-to-reach areas, such as nooks, crannies, etc.
- Deglossing sandpaper doesn’t produce dust particles like traditional sandpaper.
- Liquid sandpaper is less messy to clean up than traditional sandpaper.
- It is highly versatile to use on various surfaces.
Disadvantages Of Liquid Sandpaper
- Liquid sandpaper is not a good choice for eradicating hard texture from the object’s surface.
- It may emit hazardous fumes as it contains various chemical compounds.
- If you use liquid sandpaper incorrectly and heavily, it may damage the wood surface.
- Compared to traditional sandpaper, deglossers are a bit expensive.
How To Use Liquid Sandpaper On Wood?
Achieving the best result requires knowing how to use liquid sandpaper on wood.
Here is a step-by-step guideline to prepare your wood item for painting or staining.
Step: 01—Cleaning The Wood Surface
The first job is clean the wood surface. If you have washed the furniture for years, it may contain dust and dirt.
Use a soapy solution to remove dirt, grime, or other contaminants from the wood surface.
This will make the wood surface smoother. More importantly, you will feel comfortable using liquid sandpaper.
Don’t start sanding on a wet surface after washing it. Let it dry for two or three hours naturally.
Step: 02—Using The Liquid Sandpaper
Liquid sandpaper contains various toxic chemicals. Don’t forget to wear protective hand gloves and goggles.
Grab a microfiber cloth and add a small amount of liquid sandpaper on the fabric. Then, gently rub the wood surface in circular motions.
This scrubbing action will help apply the deglosser evenly and thoroughly and effectively remove the top layer of gloss or finish.
Plus, it will help you avoid missing any spots or leaving streaks and creating scratches or other marks on the surface.
Step: 03—Letting The Liquid Sandpaper To Dry
The next job is letting the deglosser dry appropriately after applying it. Ensure to give it enough time to dry per the product label’s instruction.
Depending on the product, you may have to wait around 20 to 40 minutes. The wet sandpaper will fully penetrate and dissolve the top layer of the finish or paint.
It won’t leave any film or residue once it dries properly and interferes with paint adhesion or other coatings.
Avoid rinsing the wet sandpaper, as it can be counterproductive.
Step: 04—Using Liquid Sandpaper Again
Sometimes, your wood surface may have a hard glossy texture. A single coating may not be enough to remove it.
Getting a perfect painting result requires preparing the wood surface adequately. In such a case, you want to add a second layer of wet sandpaper.
But the requirement of second time deglosser application depends on the wood condition. Carefully inspect all areas and apply the solution perfectly.
Follow the same instruction as step 02. Give it enough time to dry before applying the new coat of paint.
Step: 05—Wiping Off The Chemical Solution
Once the chemical solution has dried properly, use a fresh microfiber cloth to wipe off everything from the wood surface.
Gently add a little bit of pressure to remove the hard texture properly. But avoid putting too much pressure.
It is best to go through the manufacturer’s instructions to learn how to clean the solution after applying it.
Step: 06—Applying A New Coat Of Paint
The final job is applying a new layer of paint or stain. A primer might be necessary before using paint if the wood surface is porous.
It will also add a smooth texture and provide better paint coverage. Plus, primers cover imperfections.
However, using primers when you want to apply only stain is unnecessary as it will prevent the stain from penetrating the wood object.
Tips To Remember When Using Liquid Sandpaper On Wood
01. Work in a well-ventilated location, as liquid sandpaper may emit harmful fumes. Also, wear protective gloves, goggles, and a mask.
02. Keep yourself away from high heat and fire, as deglossers contain chemical compounds.
03. Ensure kids and pets are away from you while working on the project.
04. Carefully read the product label’s instructions to get a complete idea regarding how to use the liquid sandpaper.
05. Dispose of the leftover sandpaper and waste properly in the dust bin.
Frequently Asked Questions
Before applying the paint or stain, leave the liquid sandpaper for 30 to 40 minutes to dry it thoroughly. This will weaken the thin layer surface and make it easier to remove.
Liquid sandpaper effectively removes varnish, lacquer, stain, and enamel. You may have to apply the solution several times if the varnish is too thick.
Last Words
Liquid sandpaper can be a perfect alternative to traditional sandpaper to make your preparation job easier. It enables you to apply the paint evenly without experiencing any chipping-off issues.
We have already discussed how to use liquid sandpaper on wood. Make sure to follow the instruction correctly to get the best result.

I am Imtiaj Islam. I am a wood working enthusiast, having 6 years of experience in carpentry work. I have a BBA graduate degree from Chittagong College. I got vocational training on wood works from Korean Polytechnic out of the quest and zest he has for carpentry as well. I take several wood projects and keep testing different woodworking tools for comfortable and perfect work. I just love playing with woods and machines.
