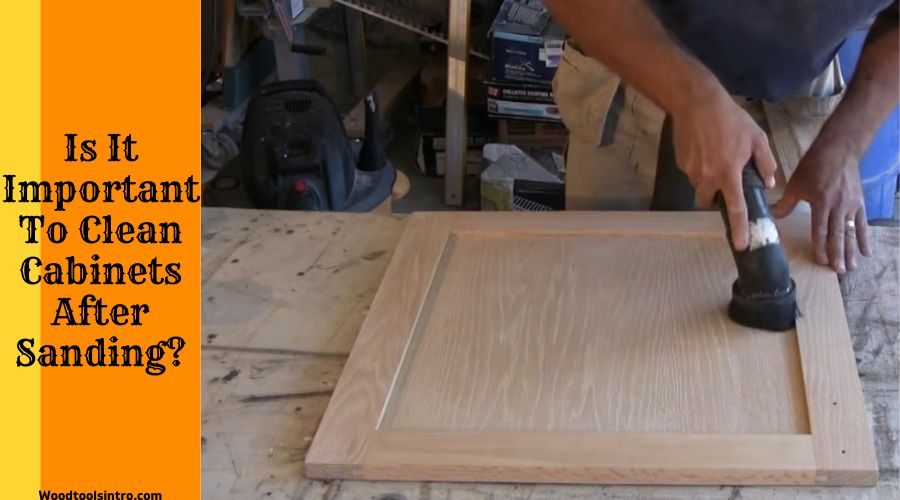
Wondering how to clean cabinets after sanding? Cleaning a kitchen cabinet appears simple when you follow the right approach.
You can follow several methods to get off dirt and dust from your cabinet surface. But you will learn the best approach from this article.
Keep scrolling until we finish!
Is It Important To Clean Cabinets After Sanding?

Is it compulsory to clean cabinets after sanding? You already achieved a beautiful smooth finish through sanding. But, painting on the cabinets without cleaning will result in quality degradation.
Also, the paint will not last long. More importantly, the finished surface will look dull. Hence, you will have to repaint the exterior within a few months.
Check Out Our New Article
What Is The Best Way To Clean Cabinets After Sanding?
You might be eagerly waiting for this part, right? As mentioned, you can clean your kitchen cabinets in various ways, such as a real dusting brush or paint brush, mineral spirits, Denatured Alcohol, etc. But, you achieve the best result when using a combined approach.
Related Article: Cleaning Cabinets With Vinegar
One product or a single cleaning agent may not give you a better outcome. It requires you to start with a basic cleaning procedure and then go for deep cleaning. Perfectly removing all dust, grease, and oil from cabinets will ensure better adhesion and an attractive paint look.
Tools And Materials You Will Need Clean Cabinets
- Safety equipment
- A real dusting brush or paintbrush
- A fresh fabric
- Air compressor to dissipate dust
- A vacuum or broom to remove debris
- A Trisodium Phosphate Cleaner
How Do You Clean Wooden Cabinets After Sanding?
Cleaning wooden cabinets after sanding require you to follow a step-by-step method.
Step: 1— Working In an Open and Fresh Area
Make sure your working area is open and fresh. Working in a confined and dirty zone will add hassles to your cleaning. Dust and debris may return again.
Step: 2— Wearing Safety Equipment
You don’t want to put a risk on your health, right? So, wear safety goggles, a mask, and full-body clothes to protect your entire body from top to bottom.
Step: 3— Removing the Dust from Cabinets
Grab a real dusting brush or paintbrush to get off unwanted dust and sanding residue from the cabinets. Move across the surface gently and clean edges and nooks.
Avoid using the same brush for all cabinets. Use large brushes to clean off massive regions quickly and small ones for corners and crannies. Avoid putting too much pressure.
Step: 4— Blowing Off the Dust
The next task is getting rid of tiny residues and debris using a vacuum or broom. For effective and faster cleaning, you can use a brush on top of the vacuum
If you still think some dirt is still there, utilize an air compressor to remove dirt, dust, or debris. But make sure the machine doesn’t touch the wood surface directly.
Step: 5— Wiping With a Fresh Fabric
Some dust might still be there. Use a fresh fabric to wipe off the cabinet surface. This will make sure there is no footprint of any dirt and dust.
So, why use cloth? The wood surface will look clean and fresh. This makes the painting task easier. The paint will adhere here and last for a prolonged time.
Step: 6— Applying Mineral Spirits
No matter how tough your cabinet surface is, Mineral Spirits come in handy to remove grease deeply. Plus, it perfectly prepares the sanded surface for painting.
Add a small amount in a soft, clean, lint-free fabric and scrub the surface gently. Avoid using too much at a time. It may affect the painting and take more time to dry.
Step: 7— Using A Tack Cloth
A tack cloth is a special wiping cloth containing tacky material to remove loose dust or minute dust particles from the curved wood surface. All it takes is a few simple wipes.
Put gentle pressure on one side and move slowly to the end of another side. Go for several sessions if fine dust particles are still visible. This will make the surface entirely fresh.
Step: 8— Applying Trisodium Phosphate
When it comes to heavy-duty cleaning, a Trisodium Phosphate Cleaner is a perfect choice. The solution comes in handy for getting off tough stains.
You don’t have to worry about losing the natural properties of the wood surface. Use a stiff brush to scrub off tough stains. But avoid putting too much brush to prevent marks.
Frequently Asked Questions
You can use Dawn dish soap on wood cabinets since it doesn’t have harsh substances to damage the cabinet surface and finish.
Mineral spirits don’t cause any damage to wooded cabinets as long as you use a small amount. Don’t apply directly. Use a clean cloth to apply the solution.
Closing Thoughts
Doesn’t it appear easy to remove dust and dirt from cabinets? Knowing the correct method is the key. You want to ensure the wooden surface is not damaged while cleaning it.
Now, you got a complete idea of how to clean cabinets after sanding. Just stick to all steps sequentially and show your people how beautifully you cleaned them!

I am Imtiaj Islam. I am a wood working enthusiast, having 6 years of experience in carpentry work. I have a BBA graduate degree from Chittagong College. I got vocational training on wood works from Korean Polytechnic out of the quest and zest he has for carpentry as well. I take several wood projects and keep testing different woodworking tools for comfortable and perfect work. I just love playing with woods and machines.
