Have you been noticing spots, dirt, and residues on your sandpaper? Is it becoming harder to use the same sandpaper repeatedly?
Random sandpaper can get clogged for a number of reasons that you may have been unaware of. Even overusing the paper can hinder the proper sanding process.
Luckily, there are methods you can utilize to get rid of clogs and prevent sandpaper from clogging too easily. Want to find more about it?
Keep reading!
Why Does Sandpaper Get Clogged? Why is It a Problem?
Generally, sandpaper is long-lasting and quite cheap to buy. But you can’t use the same sandpaper forever.
Uneven patches and worn out areas are common on sandpaper that has been in use for quite some time. The ideal time to change sandpaper is when it gets clogged, gummed up, or when the abrasive side is dulled from repeated use.
Sandpaper gets clogged when the finishing material is sticky or oily if the sanding material is moist, heat and pressure from frequent use, when the grits are smoother, and due to high-speed usage.
The Sandpaper Wasn’t Properly Dried
Damp sandpaper is the culprit behind clogs. It generates heat when you are running against another material.
That heat and pressure can produce moisture and dampen the sandpaper. So, make sure it is completely dry before you start working with it.
You Applied Too Much Pressure During Long Usage
Applying too much pressure for an extended period of time can also produce heat. That leads to damped and clogged paper resulting in poor performance.
You Used Really Smooth Sandpaper
When you use smooth sandpaper, there is a high chance of it getting clogged easily. This is not the case when you use rough sandpaper.
You Ran the Sander Too Fast
Another way sandpaper can get clogged is when you run the sander too fast. A lot of friction and pressure creates heat, which makes the sandpaper moist and cloggy.
You Used Different Materials for the Floor Finish
Using sticky finishing materials, like resins and varnishes can clog your sandpaper quicker than if you didn’t.
You Used Finishing Techniques for Wood
Lastly, sandpapers are likely to clog when shellac, lacquer, and oily varnishes are used over wood. During the sanding process, wooden finishes can melt and produce ‘corns’.
All finishes that dry hard can produce corn. You don’t want to use sandpaper that has corned since it reduces the chance of proper sanding.
How Do You Clean a Clogged Sanding Belt
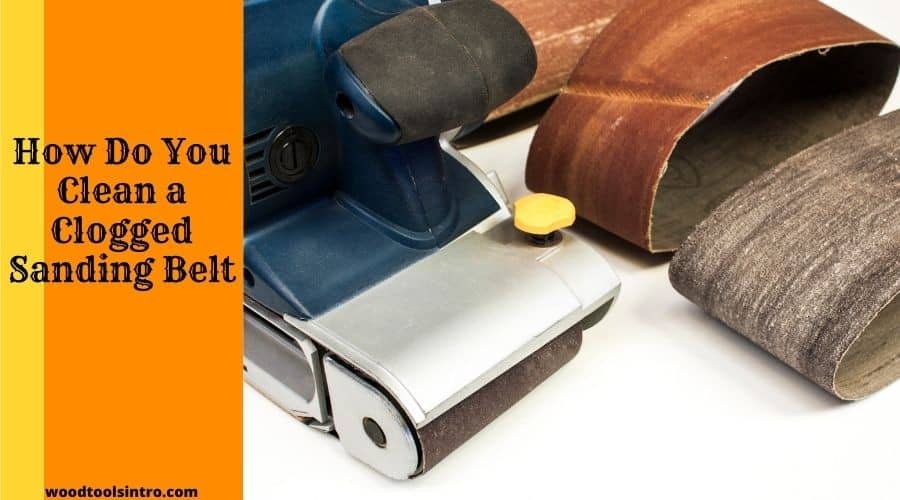
Prevention is key when it comes to making a sanding belt last longer. You should always choose a sanding belt that is of higher quality which has a correct balance of roughness and smoothness.
Sanding belts can clog when worked over wood, soft metal, and paint. Rubbing these belts over the surface produces heat, which makes the substance soft, sticky, and prone to accumulate debris.
A college sanding belt will prevent you from getting the job done quickly, and your workpiece may get scratched or burned. That is why I’m going to show you how you can clean a clogged sanding belt without a fuss!
With an Old Shoe, Wine Cork, and Silicone Caulk

The rubber soles of old shoes are more useful than you thought! You can use them to rub over the sanding belt and get its surface cleaned.
Step 1
Undo the shoelaces of the old shoes and set them aside. Place the sander upside down on the bench.
Step 2
Turn on the sander and run the shoe sole over its surface like an eraser. Crepe-sole shoes offer the best cleaning service!
Step 3
If you don’t have an old shoe, you can also use a wine cork or silicone caulk to clean your sanding belt! But this is only possible if the sanding belt is narrow. I’m not recommending this for larger sanding areas.
Get an Abrasive Cleaning Stick
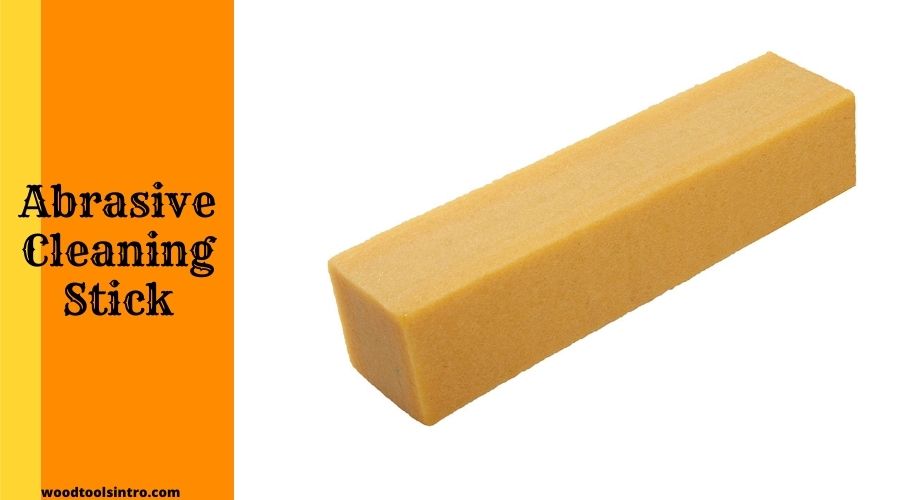
You can find abrasive cleaning sticks like the Fintech Abrasives that are particularly designed to clean sanding belts.
These sticks look like erasers and are made from rubber. You can choose from various sizes to accommodate the sanding belt that you own.
Step 1
Open the belt housing for accessibility. Raise and secure the housing without removing it completely.
If your sander is handheld, press it upside down making it face the ceiling. Then go ahead, move the cleaning stick over the surface of the belt.
Step 2
Let the abrasive stick do its job by moving over the surface removing residue and grime. Keep going until all the grits have been eliminated.
Don’t use a lot of force. Just use it like you would use an eraser.
Step 3
If your abrasive stick is too small, fasten it to a piece of wood with layers of industrial tape.
Step 4
When the sanding belt looks clean, turn it off and check for any residue. If you find some, turn the machine back on, and run the stick over it.
Use a Specialty Liquid Cleaner
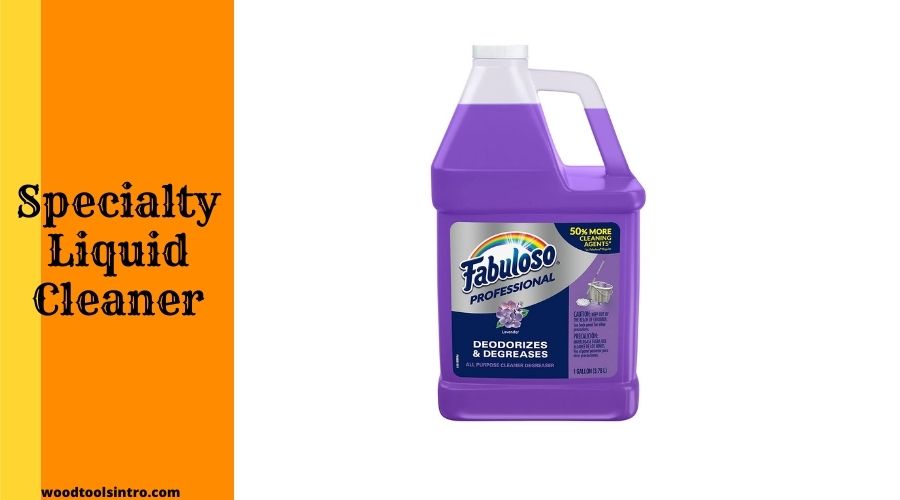
The last option is to use a specialty liquid cleaner to unclog the sanding belt. These liquid cleaners are non-flammable and biodegradable. They break down the grits on the surface and make it easier to remove them.
Step 1
First, release the tension of the belt. Spray the liquid cleaner solution on the surface of the belt while rotating it. You can use an air hose to blow away the dust at the same time.
Step 2
Check to see if all the dirt has been removed from the belt or not. If you still see some stuck debris, repeat the above process.
Step 3
Some sanding belts are waterproof. I recommend using the liquid cleaner Simple Green for poly-backed sanding belts like that.
Make the belt erect and then apply the cleaning agent. Let it sit like that for 2 days before commencing to use it.
However, this liquid cleaner is not suggested if your sanding belt is made of a poly-cotton blend. These are known to stretch and become baggy.
Also Check out
What is Non-Clogging Sandpaper?
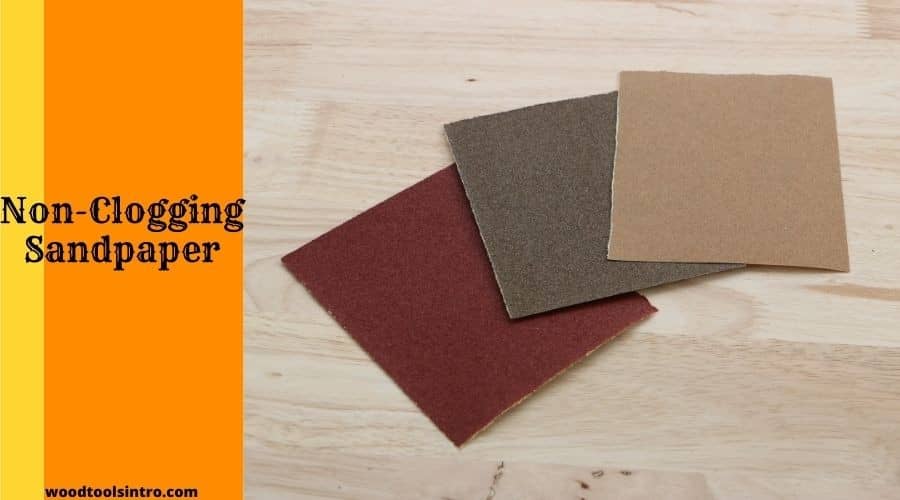
Non-clogging sandpaper has the ability to shed residue during sanding, preventing clogs and hindrances. It is made of a compound that is zinc stearate soap that makes the sandpaper ‘non-stick’ in a way.
When Should I Change My Sandpaper?
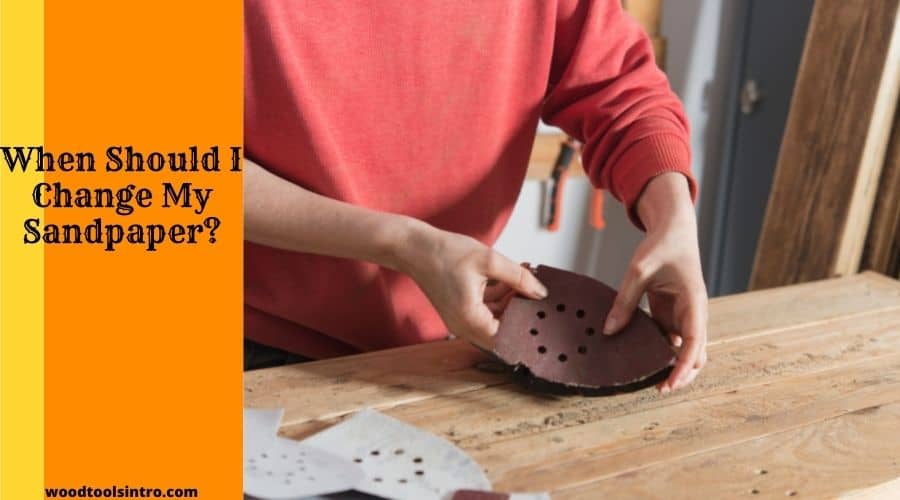
The best time to change your sandpaper is when it is so clogged that you can’t sand properly anymore. It can get clogged by the material that you are sanding.
When you notice that the paper is not efficiently sanding anymore and you have to apply too much force to sand, that is when you replace it.
Last Words
Are you satisfied with the information and techniques provided here? Do you think from now on you can prevent your sandpaper from easily clogging? Are you confident that your sandpaper will last for a long period of time?
Then my job is done!

I am Imtiaj Islam. I am a wood working enthusiast, having 6 years of experience in carpentry work. I have a BBA graduate degree from Chittagong College. I got vocational training on wood works from Korean Polytechnic out of the quest and zest he has for carpentry as well. I take several wood projects and keep testing different woodworking tools for comfortable and perfect work. I just love playing with woods and machines.
