Regular maintenance is the key to preserving the shiny look of any wooden structure, and your wooden deck is no different. But even with the maintenance, the deck loses its shine, and you’ll have to stain it again to protect the deck and regain the look.
Now, what sanding with a belt sander does is that it uses a coarse belt of sandpaper to remove all the previous stains, smoothen the surface and open up the pores. It helps the deck absorb the new stain properly, which is why sanding is an integral part of the staining process.
As easy as it may sound, sanding a deck with a belt sander is quite complicated because you need to consider lots of things to get the job done correctly. Without proper guidelines, you can end up ruining your whole deck.
That’s why to help you out, I have brought this detailed step by guide to help you sand your deck on your own. Additionally, I have discussed the planning and personal protection to execute the project safely and efficiently.
So, without further ado, let’s see how you can sand a deck with a belt sander.
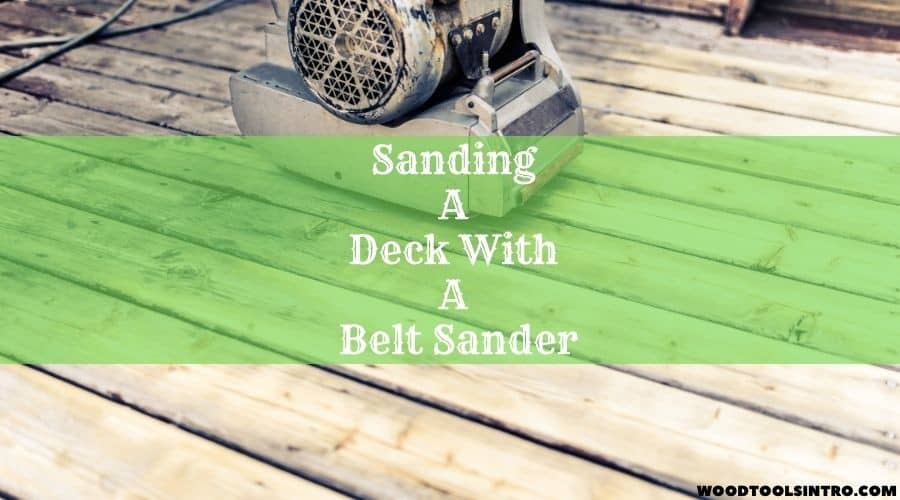
Planning The Project
Project Overview
working Time: 3-7 hours
Tolal TIme: 1-3 days
Skill Level: Newbie
ESTIMATED COST: $10 to $25
To execute this sanding project successfully, you need to plan ahead. Especially when it’s a DIY project, planning is even more important.
The first step of sanding your deck is measuring the deck and determining its condition. It’ll help you decide two things. First, how extensive you’ll need to sand, and secondly, if the belt sander you have will cut for the size of the deck.
The second step is choosing the correct grit for the sandpaper. Sandpapers are rated in number to indicate coarseness. The smaller the number, the coarser the grit paper will be. If the sandpaper is too coarse, it can damage the wood, and the sanding will take forever if it’s too fine. That’s why choosing the correct grit at every step is very important.
Usually, you should start with coarse sandpaper like 60-80 grit to get rid of the raised areas faster and have a flat deck. Then move towards a finer 150 grit to smoothen the deck slowly.
Safety Concerns
Before you get to sanding, the first thing you need to endure is your personal safety. Like any power tool out there, orbital random sanders can be equally dangerous if you don’t use them properly. Though you are mostly safe from electric accidents, you’ll still require hand gloves, protective eyewear, knee pads, and dust masks.
As you’ll be working sitting on your knees for a long time, knee pads are super important. Then comes the eyewear and mask, which will save you from the wood debris and dust flying in the air while sanding.
Now that we are fully prepared with planning and safety gears, let’s see how you can sand your deck using the belt sander.
Before You Begin
At first you need some tools to start belt sanding deck. There as follows
Required Tools
- Power Washer
- Belt Sander
- Wood Filler
- Putty Knife
- Long Screw Driver
- Sanding Belt
- Detail Sander
- Nail Set
- Hammer
- Hand Brush/ Vacuum Cleaner
To start sanding the deck, you will first need a sander. A dedicated sander for deck would be more suitable for best finish. Check out some
Best Belt Sander For Deck






How To Sand A Deck With Belt Sander: Steps By Step
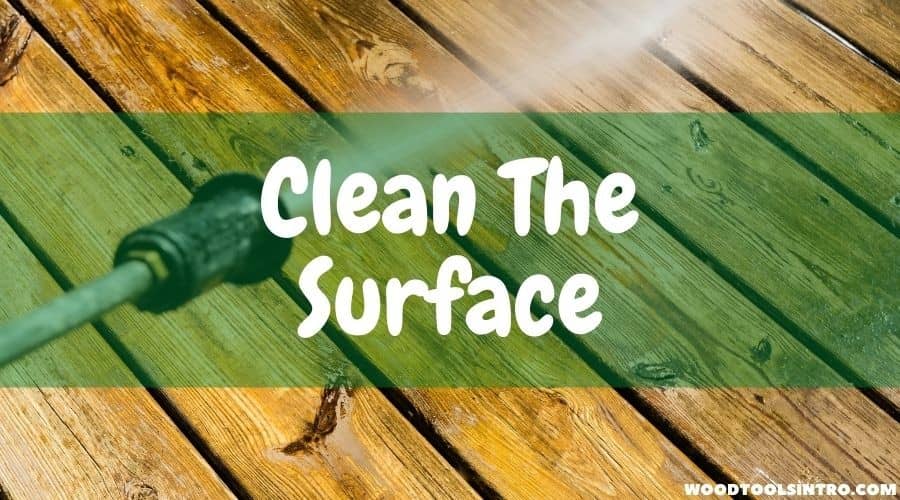
Step 1:The first step of sanding the deck is cleaning it with a power washer or detergent water. It will remove any dirt or grime buildup on the surface.
Step 2: After cleaning, let the deck dry completely for one to two days. Otherwise, the sanding won’t be effective, and it’ll clog your sanding device later.

Step 3: After the deck is clean and dried properly, inspect it for any particular uneven areas, rising nails, and holes. Either remove the nails or recess them with the nail set and hammer.
Otherwise, it can ruin the sanding belt. For the holes, you can use wood filler and a putty knife. Make sure the filler is fully hardened before you start sanding.
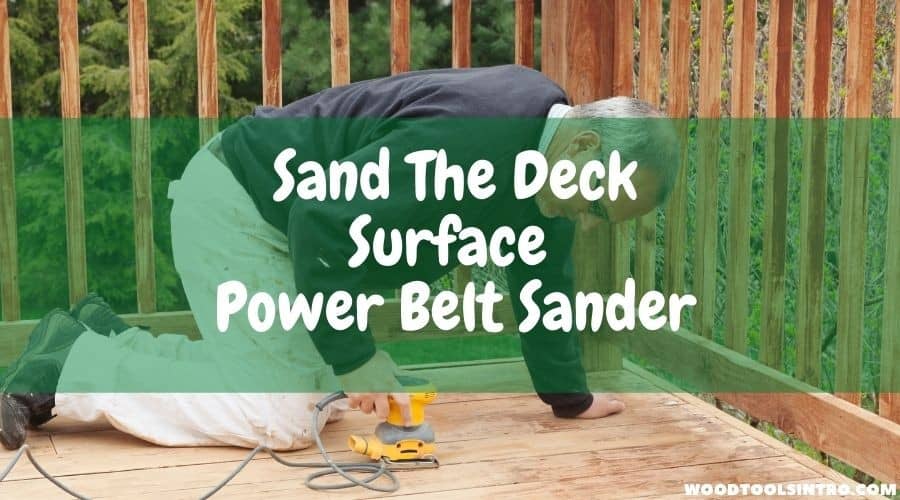
Step 4: Start sanding with your belt sander with a coarse 60-80 grit sanding belt. It’ll quickly remove any old stain and sealers. Start from the corner, sand parallel with the planks, and make your way in.
Step 5: During sanding, the belts can get clogged and eventually reduce t’s lifespan. You can get rid of the clog by using a belt cleaning stick. Once you are done with the coarse belt, move on to a finer one like 150+ grit to smoothen the surface.
Step 6: Before using the finer grit belt, wipe out the wood dust using a hand brush or vacuum cleaner to reduce clogging. Then sand the whole deck again with the finer sanding belt until it’s ready for staining.
Step 7: After you are done sanding the main deck. Move onto the deck edge and railing. The process is pretty similar for the deck edge and railing, too, as you’ll start with coarse sanding belts and move to finer ones.
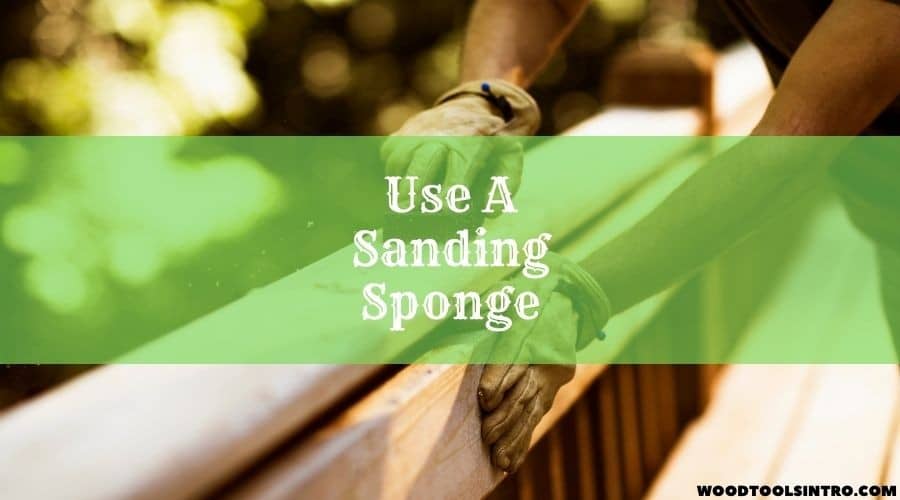
Step 8: You can use the same belt sander for the upper part of the railing where we put our hands. But for the tight spaces between the railing and deck edge, you might require a detail sander for the best result. To smoothen any sharp edge, use a sanding sponge.
Step 9: Finally, dig out all the dirt and debris from the gaps between planks with a long screwdriver and finish with a final wipe with the brush or the vacuum cleaner.
For more information watch this video on sanding a deck with a belt sander
FAQs
Ans: Staining your old deck is generally a part of your deck maintenance. Deck staining means applying a varnish-like product to protect and preserve the deck wood from harsh weather conditions. When we build the deck for the first time, we all have stained our decks.
But over time, this stain fades away, opening up the wood for damage.
Now, sanding an old deck before staining is necessary because it allows the deck to get rid of any scratch, unparalleled surface, and open up the pores to absorb the stain better.
Ans: You actually have to do both as they can’t be the alternative to each other. Sanding and power washing both serve different purposes, crucial for deck staining. Both power washing and sanding are used to prepare the deck, right? So, as long as the deck is prepared enough for sanding, both these methods should suffice.
Usually, sanding after power washing is the best practice. But if you feel that the deck is in good condition and sanding seems like a lot of work, you can just get away with a pressure wash. Just use a high-pressure one like 1500 psi so that you get the best cleaning result.
Ans: We all know that weather is a major factor in this whole sanding process, and we should try to avoid rain at any cost. But weather can be unpredictable sometimes, which raises the question of what happens when it rains on your sanded deck.
As I mentioned before, sanding is mainly used to smoothen the deck and open up the pores to absorb the new stain afterward. Unfortunately, due to rain, what happens is that your deck absorbs the moisture, and it can raise the grain.
So, if it rains after you’ve sanded your desk, either you have to dry the deck thoroughly for a day, or you can lightly sand the deck again.
Ans: The answer No, you can’t sand wet wood with a belt sander. Wet deck sanding can be ineffective due to the very way how sanding works.
When sanding, the raised portions and fiber from the wood comes off like dust because it’s completely dry.
But if we are past a certain degree according to the moisture meter, those fibers won’t be that easy to come off. Even If you managed to sand it somehow, the stains wouldn’t last long afterward.
Ans: After the power washing, you should wait at least 24 to 48 hours to dry the deck thoroughly before you start sanding. The drying duration can increase or decrease depending on the weather condition of your area and the deck’s location.
If the weather is not hot enough or the deck isn’t completely exposed to the sun, it’ll obviously take longer. Typically, it’s best if you just take it slow and let the deck dry thoroughly. Otherwise, you can use a moisture meter too to determine whether the wood is dry enough and get to work.
Ans: The answer entirely depends on the size of your deck, deck’s condition, and the sanding device you are using. If you are doing it yourself, then it also comes down to the experience level you have. Obviously, a smaller deck takes a lot less time compared to a bigger deck. Besides, there are bigger sanders you can rent from shops to get the job done quicker.
Lastly, it comes down to the condition of the deck. If the deck is new, it’s pretty easy to sand and open the pores. But for an old deck that went through harsh weather for years, it’ll require 2/3 or more passes of sanding before you prepare the deck for staining.
Last words
Here we are at the end of the article. I tried my best to keep things simple without any technical jargon. However, even without any complications, sanding a deck properly is a lot of work that needs dedication and patience.
If you are willing to put those in, with time and some elbow grease, the job will be much easier for you
Related Article

I am Imtiaj Islam. I am a wood working enthusiast, having 6 years of experience in carpentry work. I have a BBA graduate degree from Chittagong College. I got vocational training on wood works from Korean Polytechnic out of the quest and zest he has for carpentry as well. I take several wood projects and keep testing different woodworking tools for comfortable and perfect work. I just love playing with woods and machines.
