Handheld belt sanders are a pretty common name among carpenters. But using it isn’t that easy for everyone, especially for fresher.
So today, I’ll walk you through how to use a handheld belt sander, its uses, key parts of a belt sander, and many more.
Let’s get some education!
Use Of Belt Sander
A belt sander is known for its versatile uses and compatibility with multi-tasks. Here, I’d like to show you some of its best uses at a glance –
- For woodworking, a belt sander is one of the best choices among woodworkers.
- You can move smoothly sand cabinet doors and other cabinetry through belt sanders.
- Through a belt sander, you’re allowed to perform refining furniture, paint removal, and fixing doors or windows.
- In order to smoothen concrete, a belt sander really comes in handy.
- Surprisingly, you can also take assistance from belt sanders in terms of sharpening chisels, knives, scissors, and so forth.
How To Use A Handheld Belt Sander: Step By Step Guide
Using a handheld belt sander is a breeze! That said, you need to follow some specific steps to get it done with success.
So let me describe the way of using it through a step-by-step guideline:
Step-1: Select the Right Size Sanding Belt
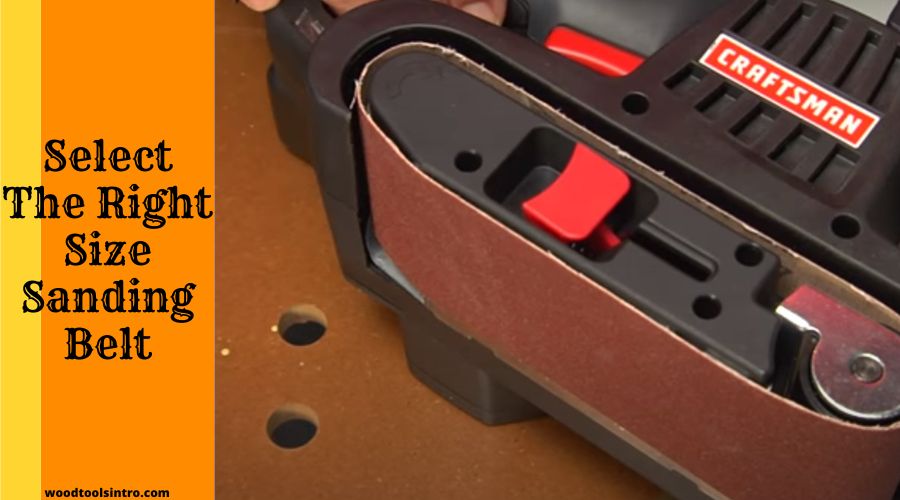
Before you get into the real action, you must pay attention to determining the correct piece of sandpaper.
Basically, a handheld belt sander tends to require different types of sanding grits with different ranges.
For instance, if you’re going to perform rough sanding or paint stripping, choosing a coarser grit is always the right decision. In order to start up your sanding project, search for 100, 80, or 40 grit.
Afterward, gradually move on to the finer grits in terms of smoothening your desired surfaces. Note that using a 120 grit is completely unnecessary if you tend to use a finish sander after utilizing the handheld belt sander.
In contrast, totally avoid using a finish sander if you want to get a smoother finish by gradually increasing the grit.
Step-2: Prepare the Work Area and Material
Along with gripping the handheld power tool tightly, make sure the material you want to sand shouldn’t be thrown away in the room.
Ensure to clean up the workbench using a specific rag, and getting extra clamps is a must to get the material well-secured.
Not everyone can’t utilize clamps correctly to secure the material tightly. In such a case, take assistance from a block or fence on the material’s end, avoiding moving it while sanding. Remember that you can’t alter the sanding direction if there is no block or fence.
Step-3: Start Sanding
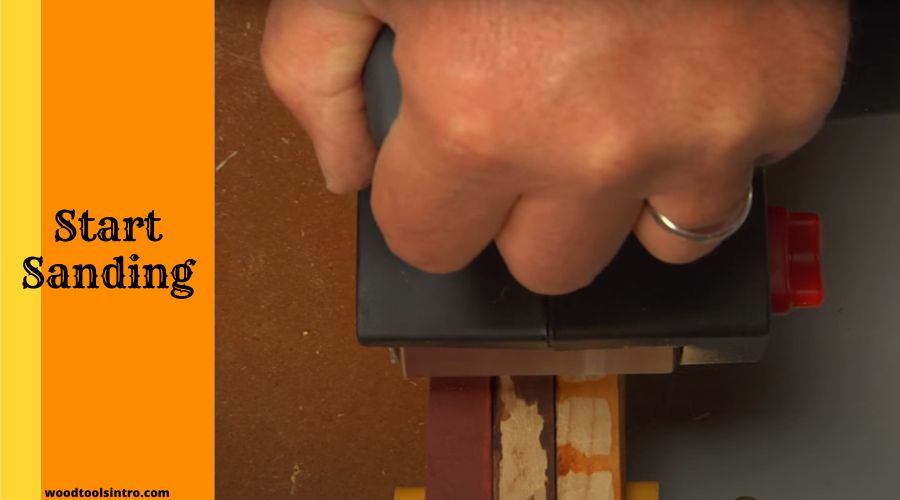
Let’s start your handheld belt sander by squeezing the trigger straight away. Until the speed of your power tool gets into its optimal range, you must hold away the belt sander from the material.
Bringing down the back of your sander to the material’s surface is what you’ll do now. Thus, you can have a tight gripping and eliminate the risk of hand-slipping.
Gradually lower your sander’s front, and then begin moving it to the material’s surface.
Step-4: Strip or Sand the Material
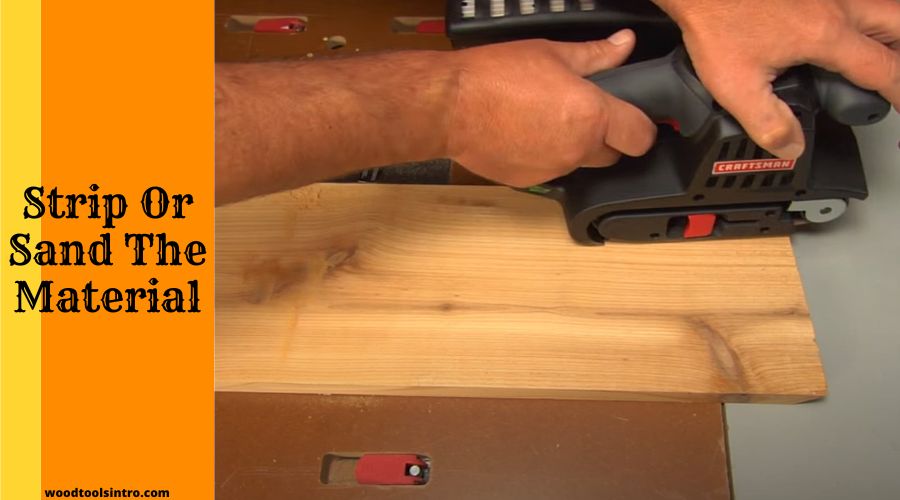
Feel free to sand diagonally if your task is about leveling something like uneven surfaces. Once the material turns level, move on to a finer grit and start sanding using the grain.
In order to achieve a level and smooth finish, I’d suggest applying long strokes during you maintain constant pressure. At the same time, excessive pressure may let you end up with deep, unexpected gouges!
According to experts, you should bring varieties to place a sander towards the material. Take it easy and make sure to observe the sanding conditions frequently.
Step-5: Clean Up
Unfortunately, a handheld belt sander tends to produce excessive amounts of debris. As a result, you’ll have to take help from a brush, broom, or shop vac in terms of casting away the sawdust.
Alongside the surface, clean the sander you used too. If not, it may cause inappropriate sand patterns for upcoming sanding projects. Keep this in mind.
Note: You’re lucky enough if your sander already has an outlet for a built-in vacuum. It can suck up all the debris and sawdust within no time!
Parts Of Handheld Belt Sander
Let me show you the crucial parts that almost every handheld belt sander has:
Trigger
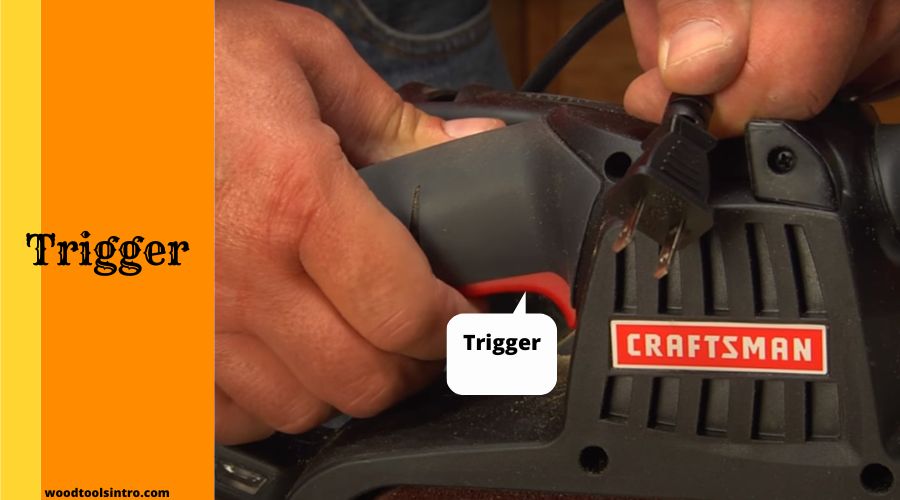
In order to activate your sander, you must take assistance from a trigger. By squeezing it, you can begin the handheld sander to rotate. And by releasing it, you can turn the power off.
Switch
Instead of the trigger, you may notice a switch in the stationary belt sander. This won’t let you control the belt’s speed. To turn it on, flipping the switch will be needed.
Handle
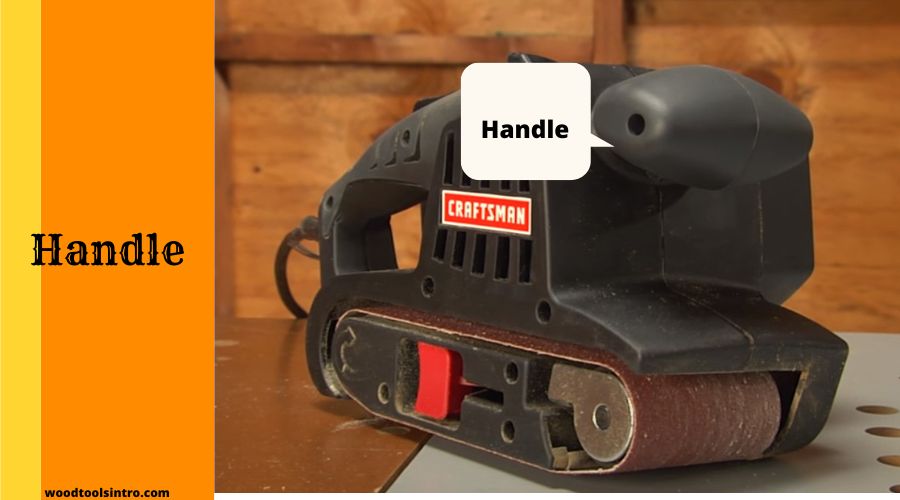
Handheld belt sanders usually feature dual hands to operate the tool. Using them, you can have complete control over the sander to avoid ruining the material’s surface.
Sanding Belt
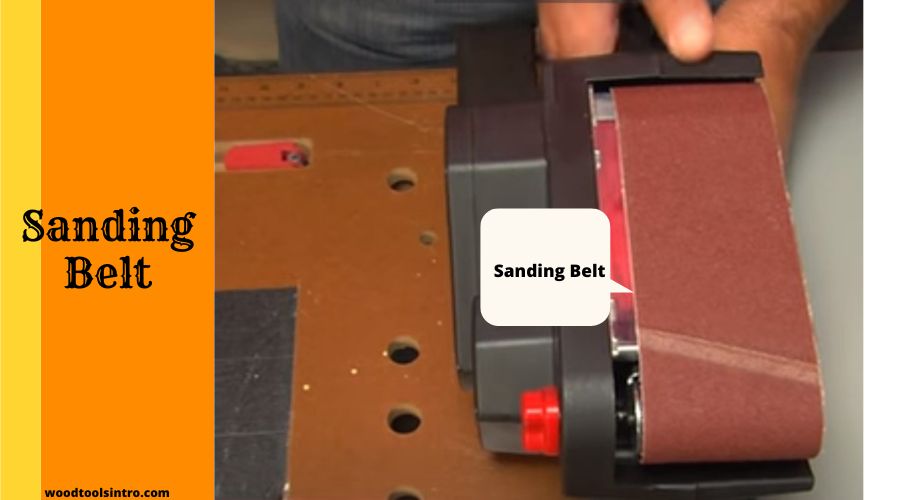
The basic function of a sanding belt is to move quickly when the power tool is turned on. Thus, it removes material layers or strips of paint.
When the sandpaper gets stuck or clogged, ensure to replace the sanding belt as soon as possible.
Tensioning Lever
Indeed, it plays a key role in improving the distance between drums, ensuring the belt doesn’t slip off accidentally while using the sander.
By releasing the lever, you’re allowed to change the belt while needed.
Drums
This is where the sanding belt fits. After you’ve adjusted it in place, you will be able to switch the sander on. They generally spin at the maximum speed o drive the belt via your targeted material.
Dust Bag
A few models of handheld belt sanders offer extra dust bags, allowing you to capture sawdust or debris in the best way possible. This can help you perform your sanding task without any mess.
How Tight Should A Belt Sander Belt Be?
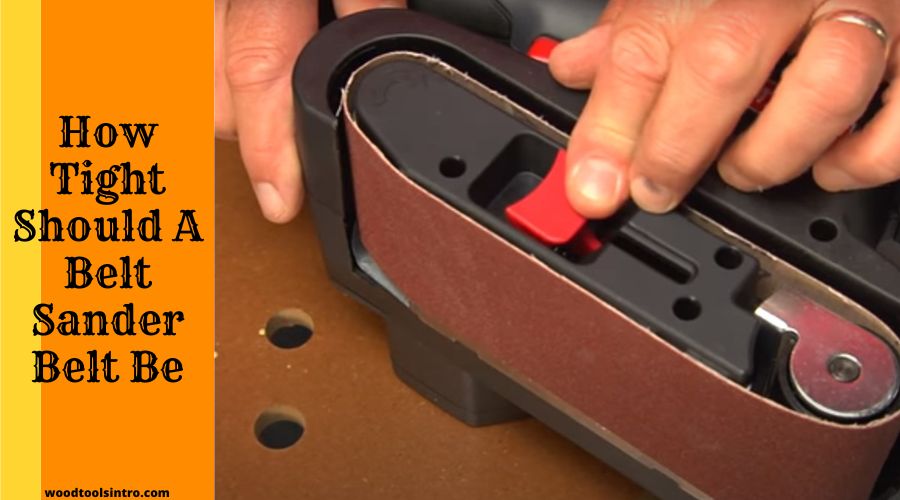
As a rule of thumb, the tension of a belt sander shouldn’t cross the limit of 40 psi to achieve the best result.
Thus, users get the chance to keep the belt away from accidental slipping while sanding any materials. Excessive amounts of belt tension are equally harmful as they will result in tearing the belt.
How Do You Change The Sandpaper On A Belt Sander
Follow the given steps to replace the sandpaper of your belt sander within no time –
- First off, get your belt sander unplugged
- Loosen the sanding belt by releasing the lever’s tension
- Pull off the existing belt sandpaper without excessive pressure
- Align the new sandpaper following user manual/manufacturers’ guide, and slide it on gently.
- Tension the lever again and turn the power on to see everything g done correctly.
Last Words
So that was all for today about how to use a handheld belt sander. Including that, I discussed all of its crucial components, giving you a clear idea about this super-effective power tool.
So hope the write-up helped you a lot.
Sources

I am Imtiaj Islam. I am a wood working enthusiast, having 6 years of experience in carpentry work. I have a BBA graduate degree from Chittagong College. I got vocational training on wood works from Korean Polytechnic out of the quest and zest he has for carpentry as well. I take several wood projects and keep testing different woodworking tools for comfortable and perfect work. I just love playing with woods and machines.
