Sanding pinewood floor is a little challenging for beginners as it’s relatively softer and smoother than hardwood. So, most of you may end up with destroyed floors if you mistakenly apply inappropriate tools.
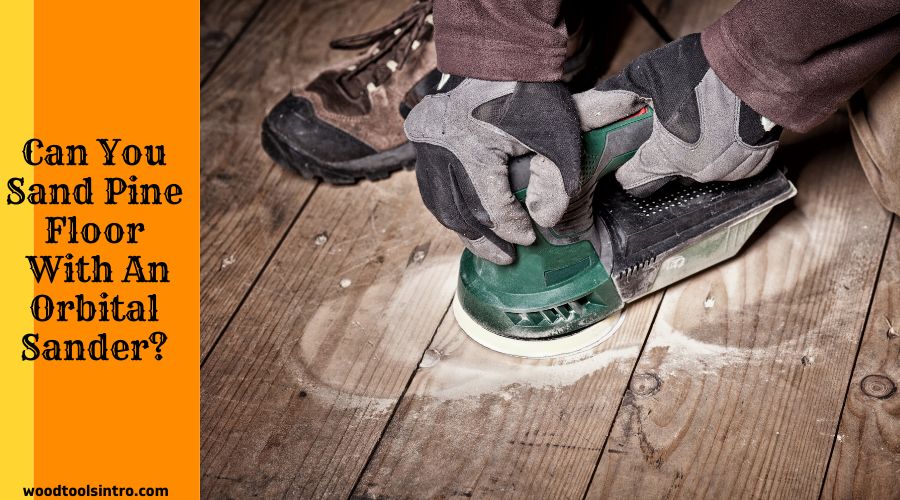
In this case, sanding a pine floor with an orbital sander isn’t a bad idea. Today, I’ll break down the efficient steps to do that.
What is The Best Way To Sand Pine Floors?
Hands down, the best way to sand pine floors is to collect all the necessary tools needed. In that case, you’ll require a specific sander to get the task done, including a couple of sandpaper with multiple grits.
And yes, following particular steps is crucial, as pine-floor sanding isn’t as easy as ABC.
Can You Sand Pine Floor With An Orbital Sander?

Luckily, yes.
An orbital sander is known for its compact shape and versatility. The best way to do that is to sand the pine floor using the one that features a variable speed option.
The purpose of choosing such a sander is to get the freedom to control the power tool according to your preferences.
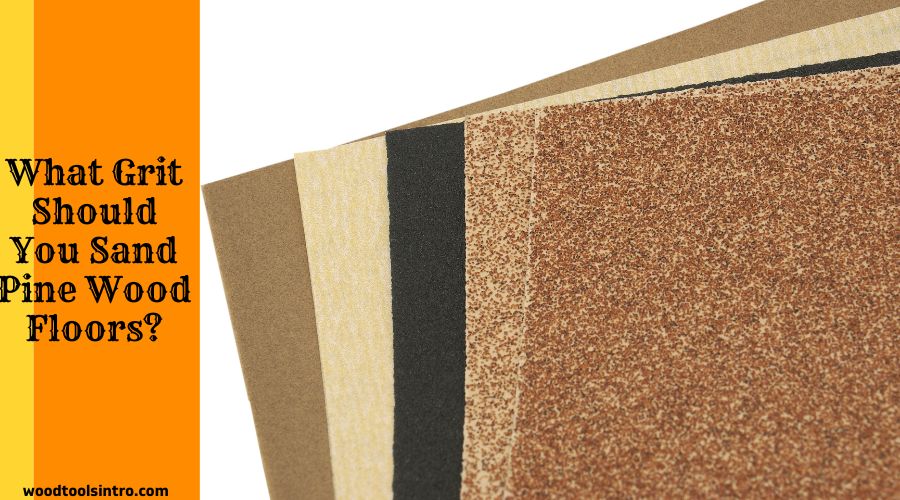
What Grit Should You Sand Pine Wood Floors?

Using multi types of sanding grits is mandatory for successfully sanding pine wood floors. You first start up your project with 80-grit medium sandpaper.
Afterward, you’re allowed to progress to 220-grit fine sandpaper gradually.
How to Sand Pine Floors with Orbital Sander: Step by Step Guide
Only because pine floors are relatively softer than hardwood floors, you must be extra careful while sanding them through a sander.
For today, I’d like to take assistance from a random orbital sander. Let us show you the following steps –
Things Required:
- A random orbital sander
- Multiple sandpaper grits
- A vacuum
Step-1: Preparing the Floor
Before you straightly jump into the sanding process, check the floor to ensure there is not a single piece of screw or nail around the surface. Feel free to use local fillers to fill the existing loose boards or gaps.
Step-2: Attaching Sandpaper
Let’s start attaching the sandpaper from 80-grit to refinish the pine floor. But if your floor is too new, I’d suggest using 100-grit sandpaper as it will ensure an even better outcome.
Step-3: Begin Sanding
Let’s start performing the sanding task from your pine floor’s one end. Make sure you move back continuously towards the room’s opposite side.
I’d suggest leaving a specific place between the wall and you, which should be not less than 6 ft.
Let’s wrap up the entire area by turning around the random orbital sander. Keep on till you’ve finished the floor. You can take assistance from a portable disc sander to reach tight corners.
Step-4: Changing Sandpaper
Now, replace the sandpaper of your orbital sander with the new grits. 80 to 150 grits are good to go! After that, you must go through the steps from 1 to 3 once again.
Step-5: Attaching Fine Grits
Here, you should take assistance from 220-grit fine sandpaper to sand the entire surface of your pine floor. Thus, you will be able to achieve the smoothest surface possible. And guess what? You’re just a step away from wrapping up the sanding task.
Step-6: Cleaning Up the Surface
After you’ve sanded all over the area, you may end up with sawdust or debris produced by your random orbital sander.
So if your sander doesn’t have any specific dust collection bag, you can use an extra vacuum to cast them away.
That’s it!
How Long Does It Take to Sand A Pine Floor with A Random Orbital Sander?
Depending on the type of sander, how long it will take to sand a floor also depends on your level of skill. Experts will generally require around 1 to 2 days, depending on the room size.
Talking about DIY-ers, they may need double times, which means around 2 to 4 days for each room using a complete sanding kit.
Frequently Asked Questions (F.A.Q’s):
In order to refinish your old pine floors, you’ll have to apply a method named ‘screen and recoat.” Here, all you need is to brush up the surface using a floor buffer. Afterward, a refresher coat should be applied thoroughly.
Although you’ll find pine flooring usually unfinished, you’ll need to finish the floor using your desired color. Moreover, after the pine floor installation, finishing it will keep your floor well-protected from significant damage.
Sanding pine before staining is necessary. For this, using sandpaper of 120-grit is a good idea. For an even finish, I’d suggest going up to either 320 or 220-grit sandpaper.
Power driven Belt sanders tend to sand a bit aggressively. As a result, you won’t get the best result using it for sanding pine floors as it is relatively softer than hardwood.
Last Words
If you’ve read the entire post, sanding a pine floor with an orbital sander has become a complete snap. Only by following the 6 steps mentioned above, you can smoothly perform the task without any risks.
But it might be time-consuming, especially if you’re doing it yourself.
Related Article
- Mouse or orbital sander for floor
- Cord or cordless sander for wood
- Sanding MDF
- Sandpaper or steel wool for smoothing

I am Imtiaj Islam. I am a wood working enthusiast, having 6 years of experience in carpentry work. I have a BBA graduate degree from Chittagong College. I got vocational training on wood works from Korean Polytechnic out of the quest and zest he has for carpentry as well. I take several wood projects and keep testing different woodworking tools for comfortable and perfect work. I just love playing with woods and machines.
